
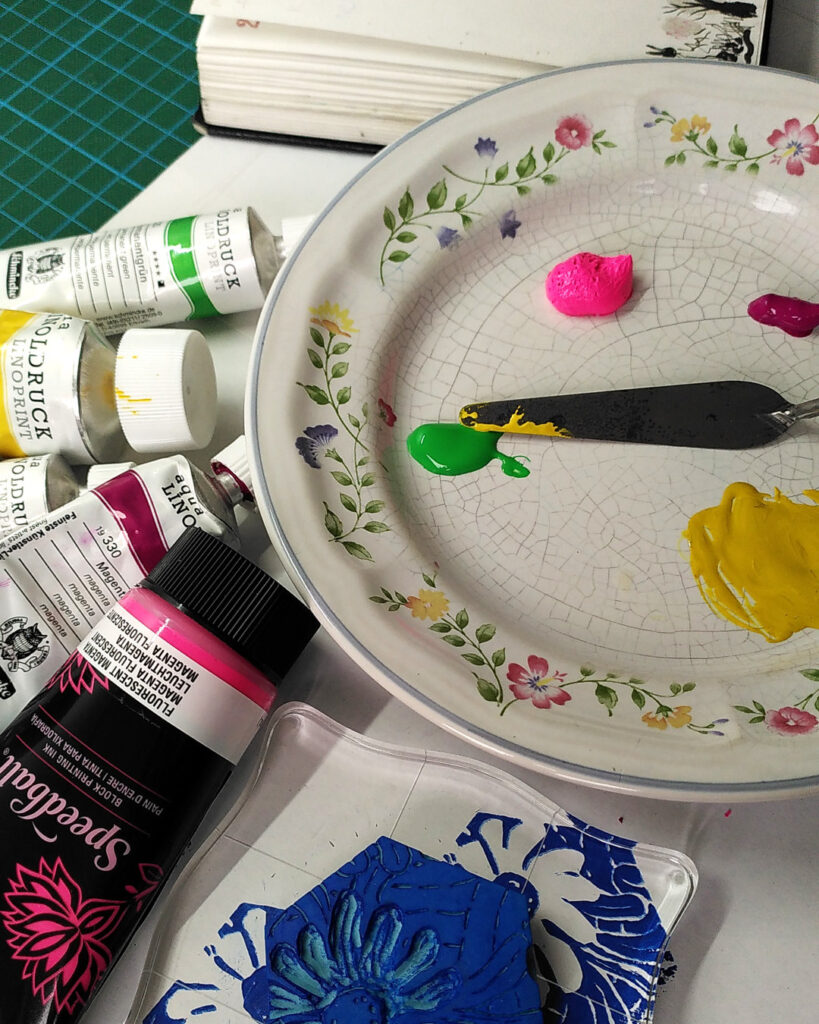
Before diving in I took a moment to select the colour palette I wanted for the pattern. Had to include the fluo pink 😁️! (in the end it did not print as fluo as I thought, but still a highlight 😊️)
Used a palette knife to mix a little bit of sepia with the yellow to get more of a mustard tone. The colour called magenta is more of a reddish purple straight from the tube, so did not need to mix, and the permanent green is also straight from the tube – gorgeous, right? 🤓️
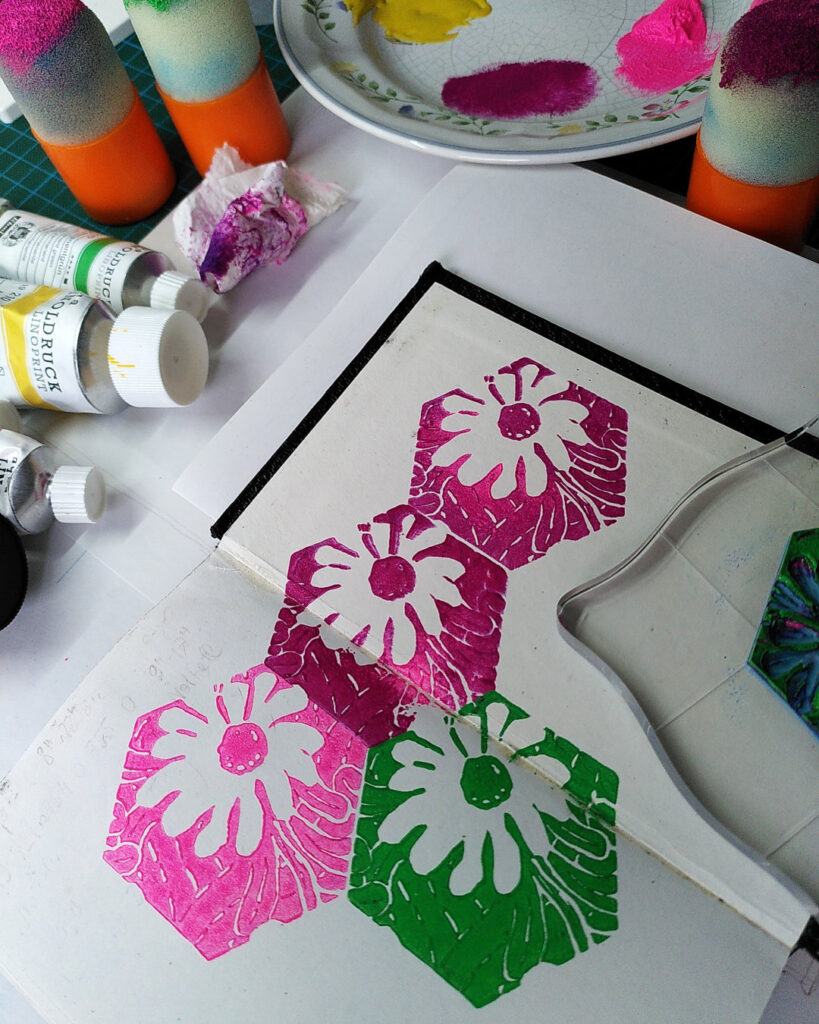
After all this preparation, finally starting printing is a joy – and the printing goes pretty quick and intuitively!
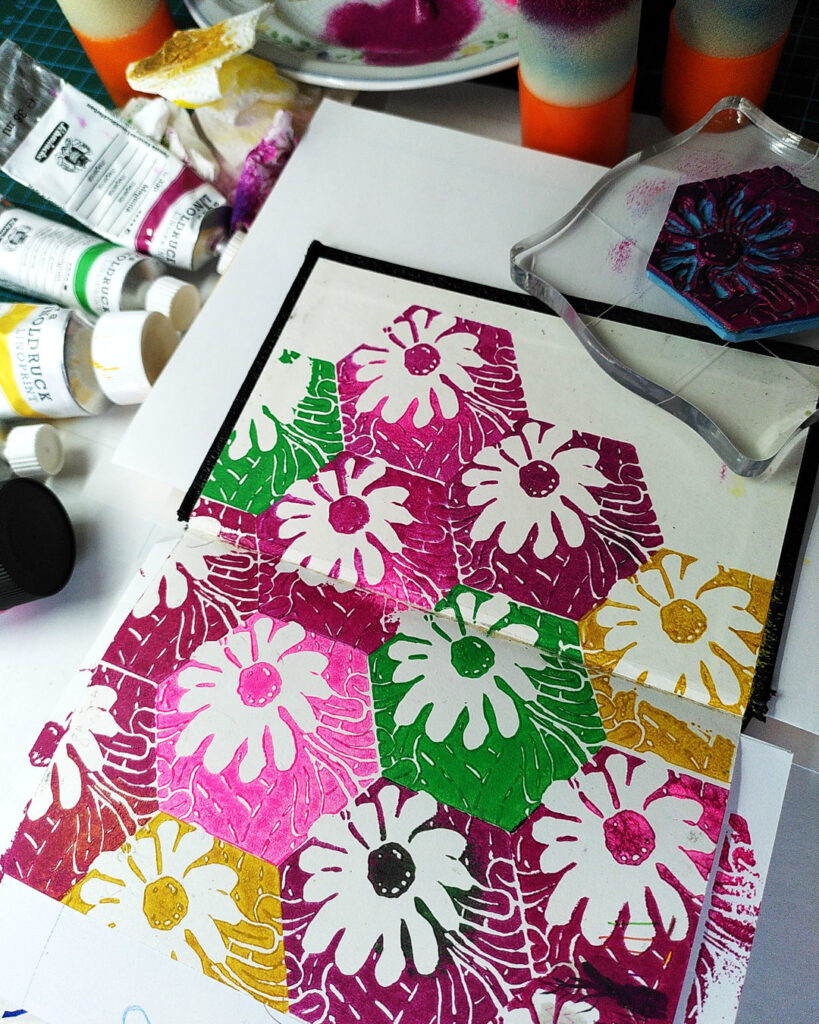
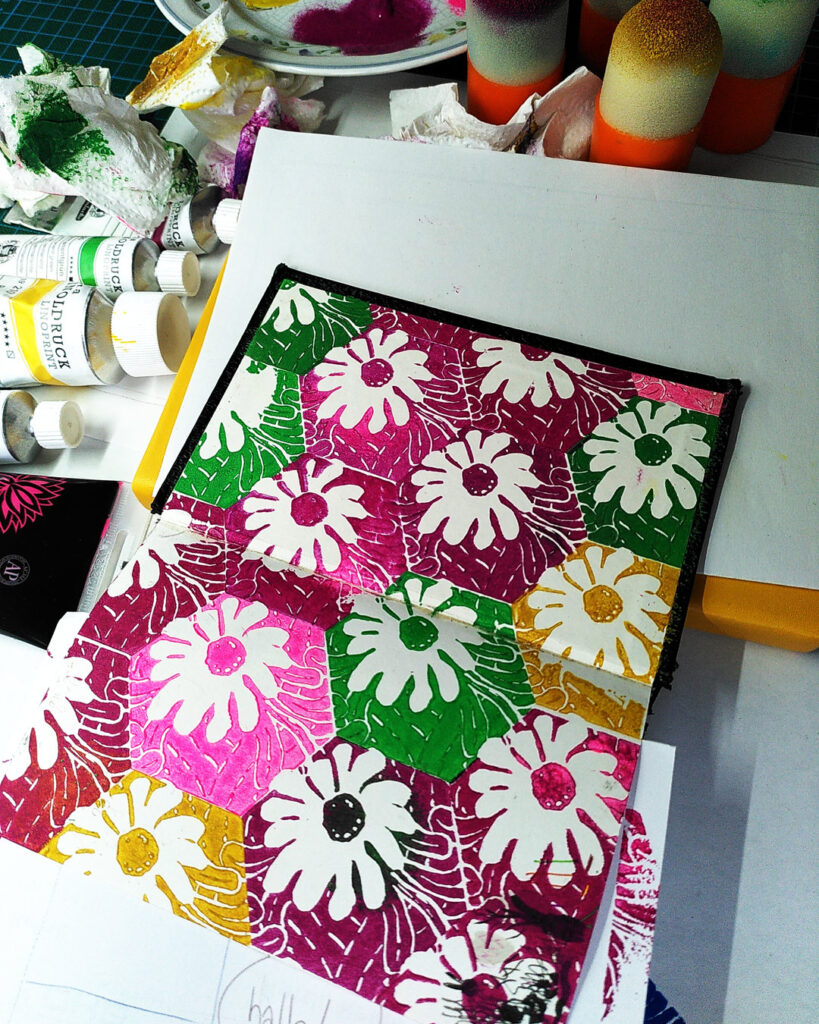
Almost finished…
An that’s it! ✨️
The whole process took closer to one hour than half an hour on that day (including the cleaning…) but I went with it 😇️ (didn’t want to clean twice, and wanted to have the final result! not sure which motivation was strongest 😁️).
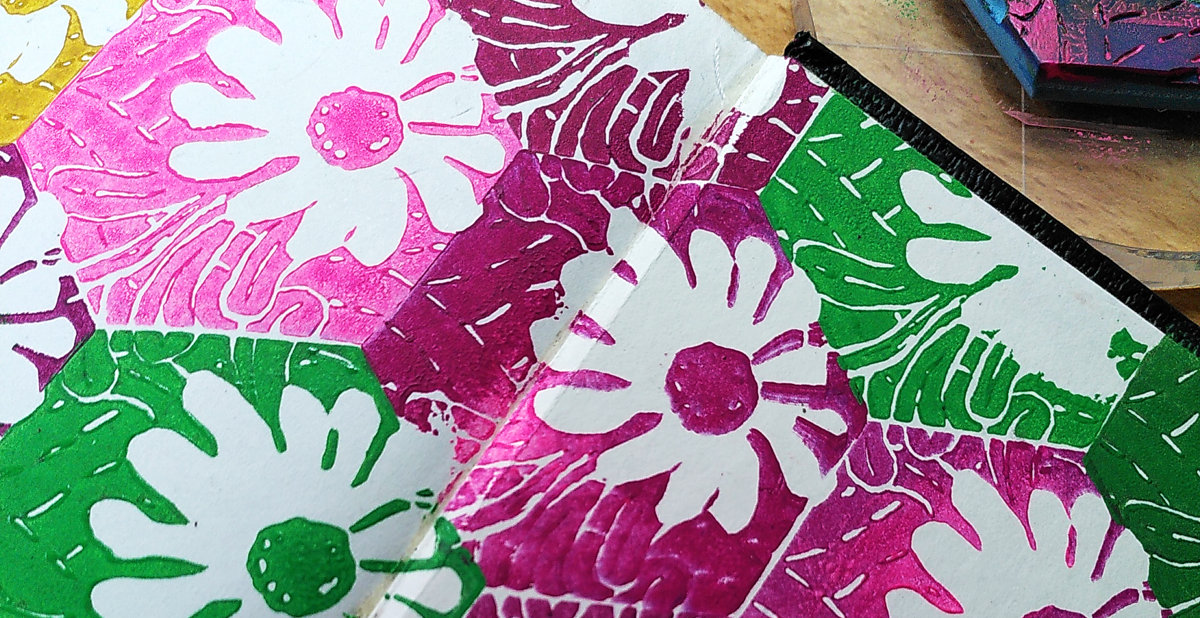
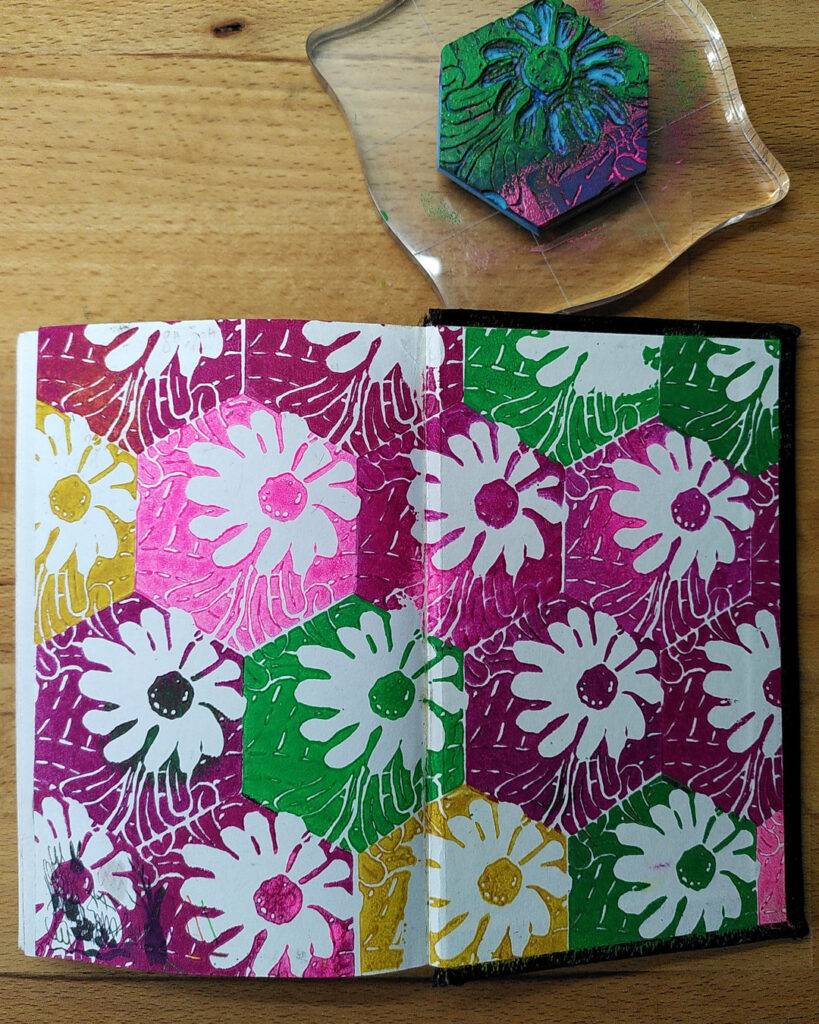
Let’s take some time to enjoy the result 😊️:
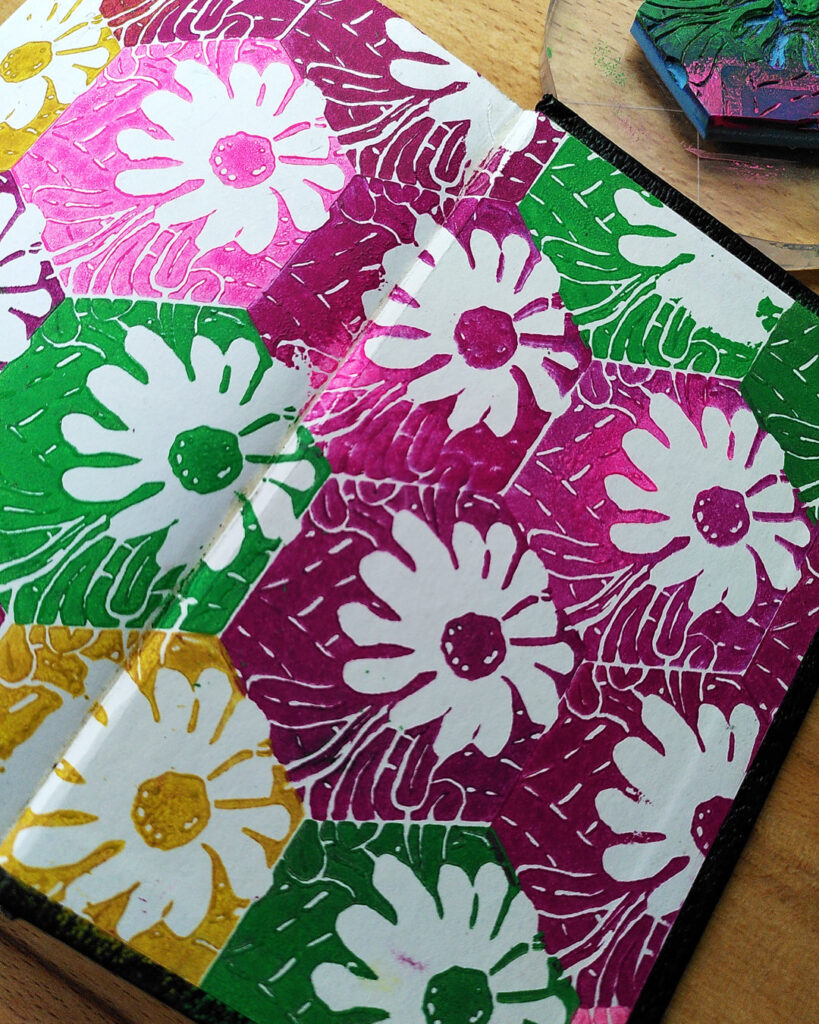
…And a last close-up:
Hope you enjoyed the process and/or learned something. And if you didn’t follow along, you can find all posts under the #stampprinting tag. There’s no specific tag for this project – didn’t know what to call it 😅️ – so you’ll find other stamp printing posts, too :)